In this post, we will see how to configure REST Assured in Eclipse IDE. In order to start the implementation of Rest Assured based test scripts, we need to set up the environment first. For this reason, this tutorial will explain and help to set up the prerequisite and required dependencies in Eclipse.
Clean and concise presentation of #RestAssured setup in #Eclipse... Check this out...!!! Share on X
Steps to follow:
1. Create a maven project in eclipse
First, create a maven project in eclipse. While creating the project in eclipse, you can use any ‘groupid‘ and ‘artifactid‘ for the maven pom but as of now, provide the name as “RestAssuredServicesTestProject” to ‘groupid‘ and ‘artifactid‘.
Note: If you don’t know how to create a Maven Project in Eclipse in detail, please check this post.
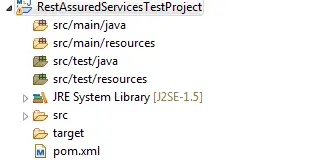
Below should be the Structure of the project:
2. Add Rest-Assured maven dependencies
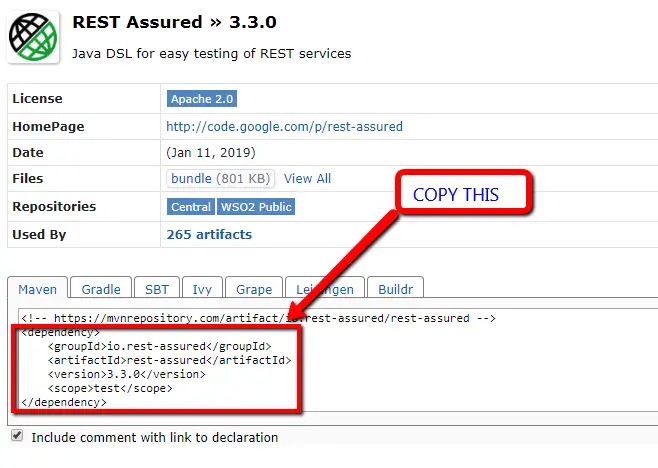
Now search for the latest Rest Assured maven dependencies by clicking this link. On that page, you’ll see various versions of Rest Assured API. You can choose any version but prefer to go with the latest version. Let’s look at the current version highlighted in the screenshot below.
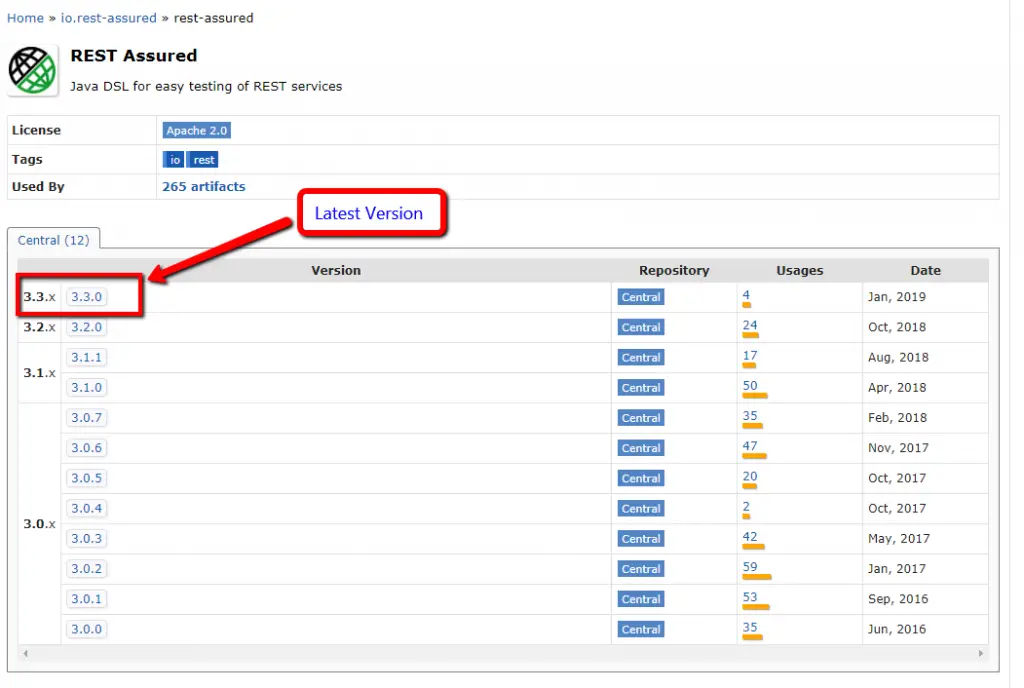
Now, click on version 3.3.0 and copy the dependency from the next page. See the below screenshot.
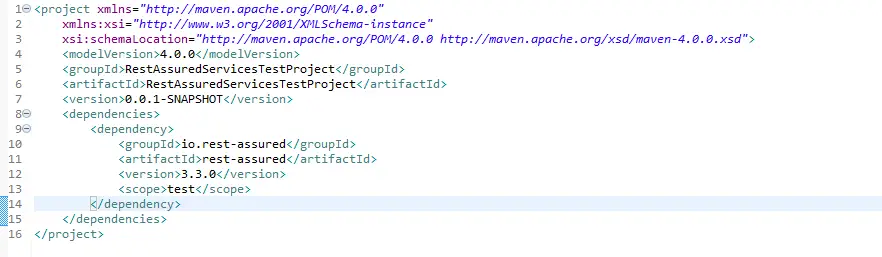
Finally, add this dependency in your pom.xml like below and save the changes.
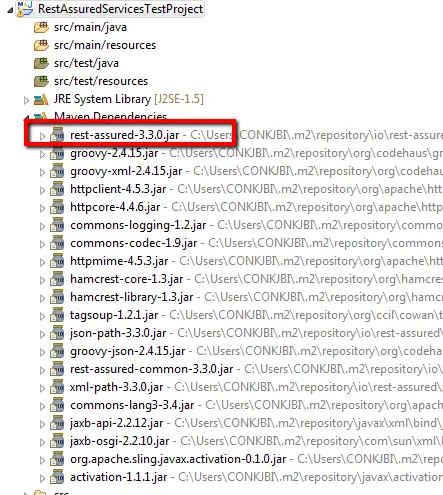
Now, check the Rest Assured Jar in the classpath under “Maven Dependencies” on the left panel. See below screenshot: