

In this post, we are going to see the step by step process to launch an ‘Eclipse IDE’ for the first time after downloading. If you haven’t gone through my post on how to download Eclipse IDE then check it by clicking on this link.
Simple approach to launch Eclipse IDE, Share It... Share on X
Steps to launch Eclipse IDE:
1. Download eclipse zip file as per the previous post: Download Eclipse IDE
Now, unzip this zip file using any of the zip extractor (say 7zip) and copy the extracted folder in the location of your choice.
2. Now, inside the folder, there would be a folder name ‘eclipse’, double-click it and you will find lots of child folders and files, there you will find an application file named ‘eclipse’ as shown in below screenshot:

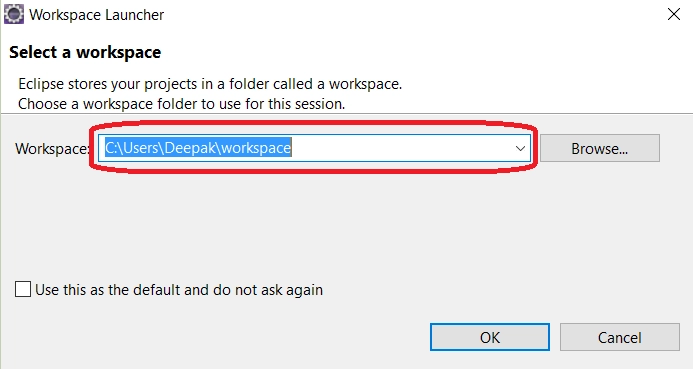
3. Double click on the ‘eclipse’ application and it would open the window to set the ‘workspace’ location, give the path there as per your need where you wish to create all your projects. see below screenshot:
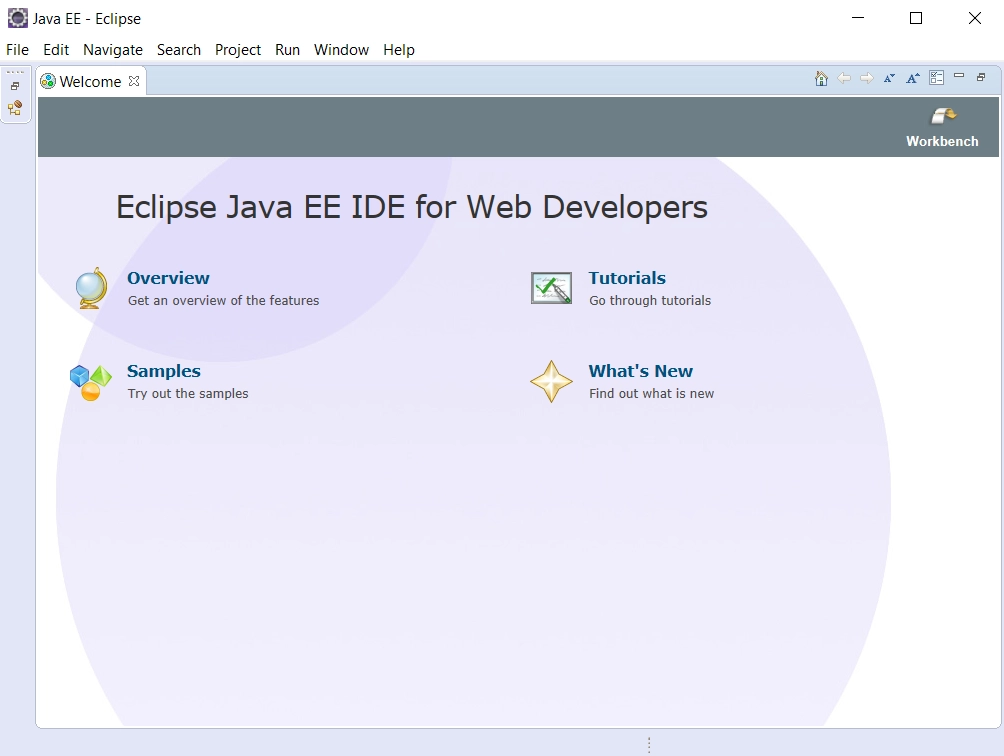
4. Click OK and your eclipse screen would come up, see below screenshot:
That’s it, it’s that simple to download Eclipse IDE :)
Simple approach to launch Eclipse IDE, Share It... Share on XIf you like this post , please check out my other useful blog posts:
Other Useful References:

